
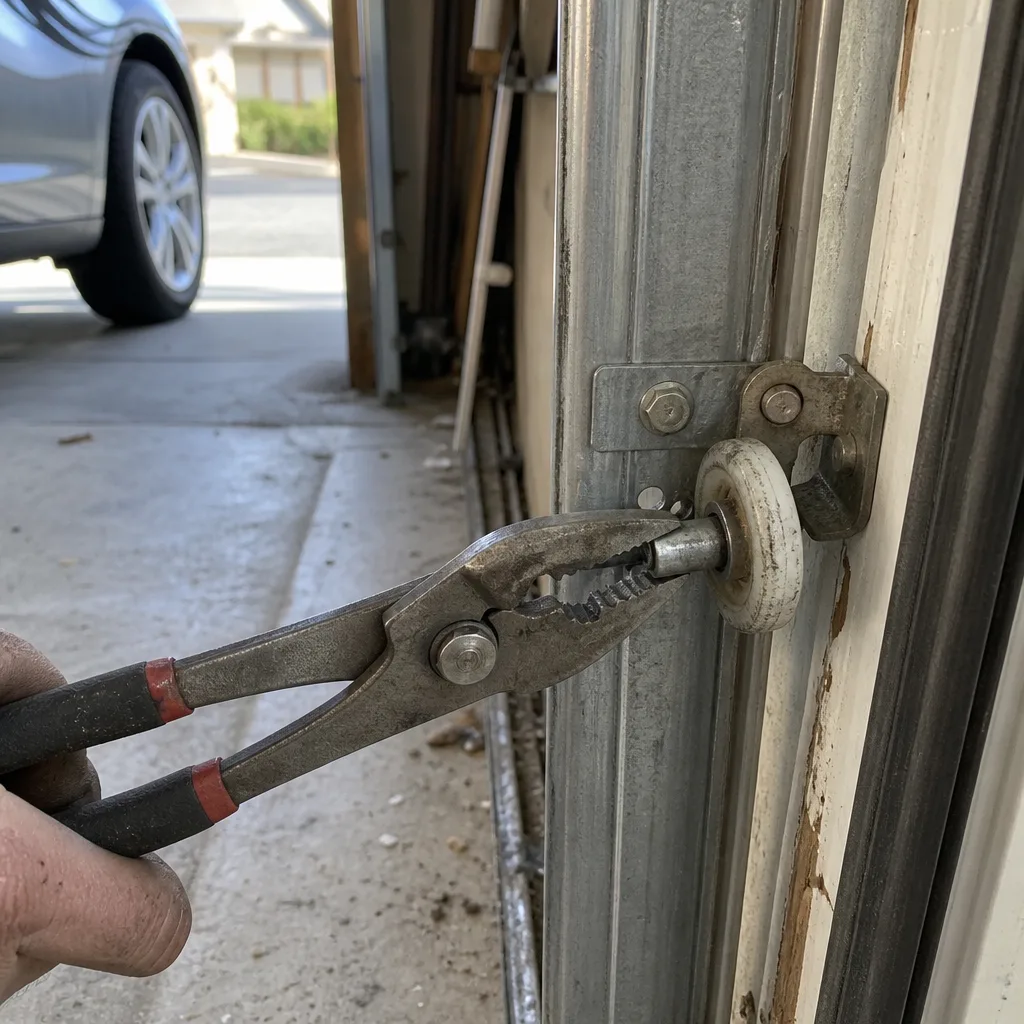
Last updated November 4, 2026
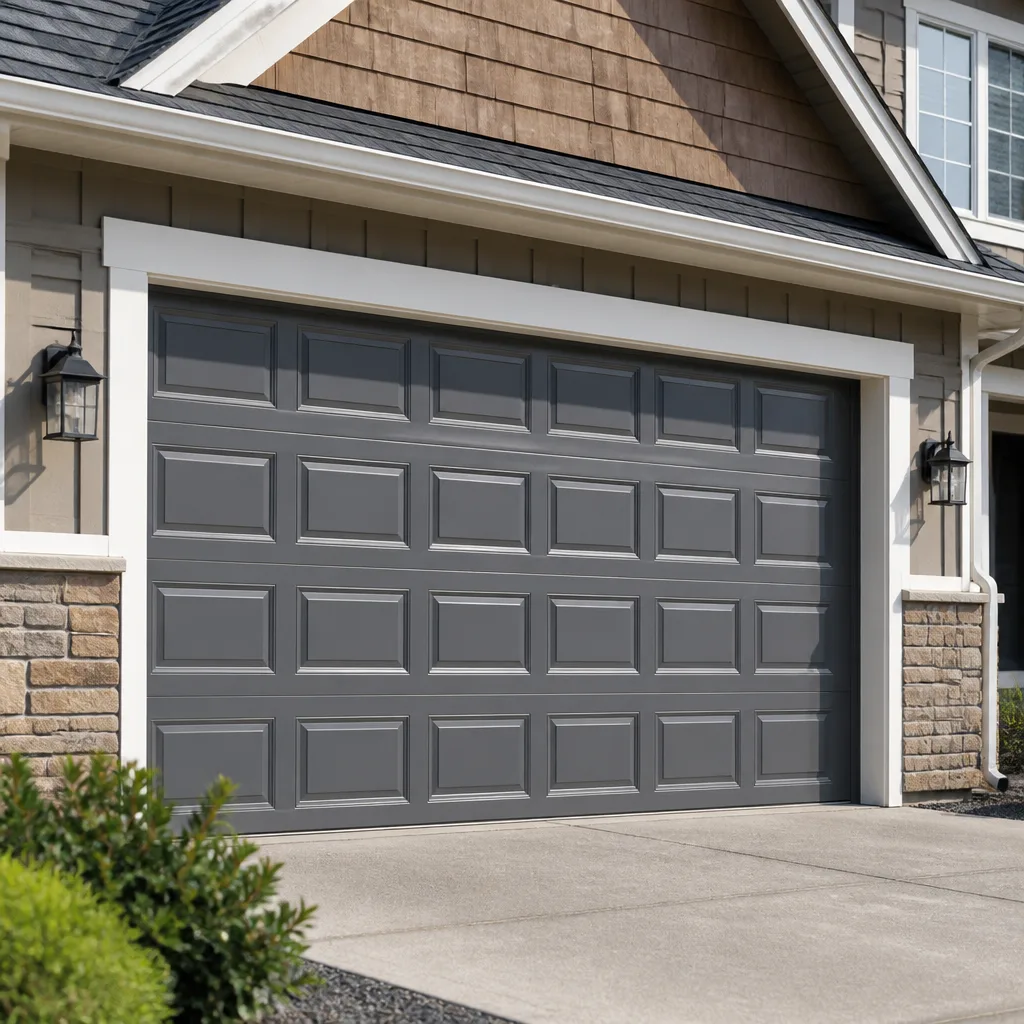 Raised-panel steel
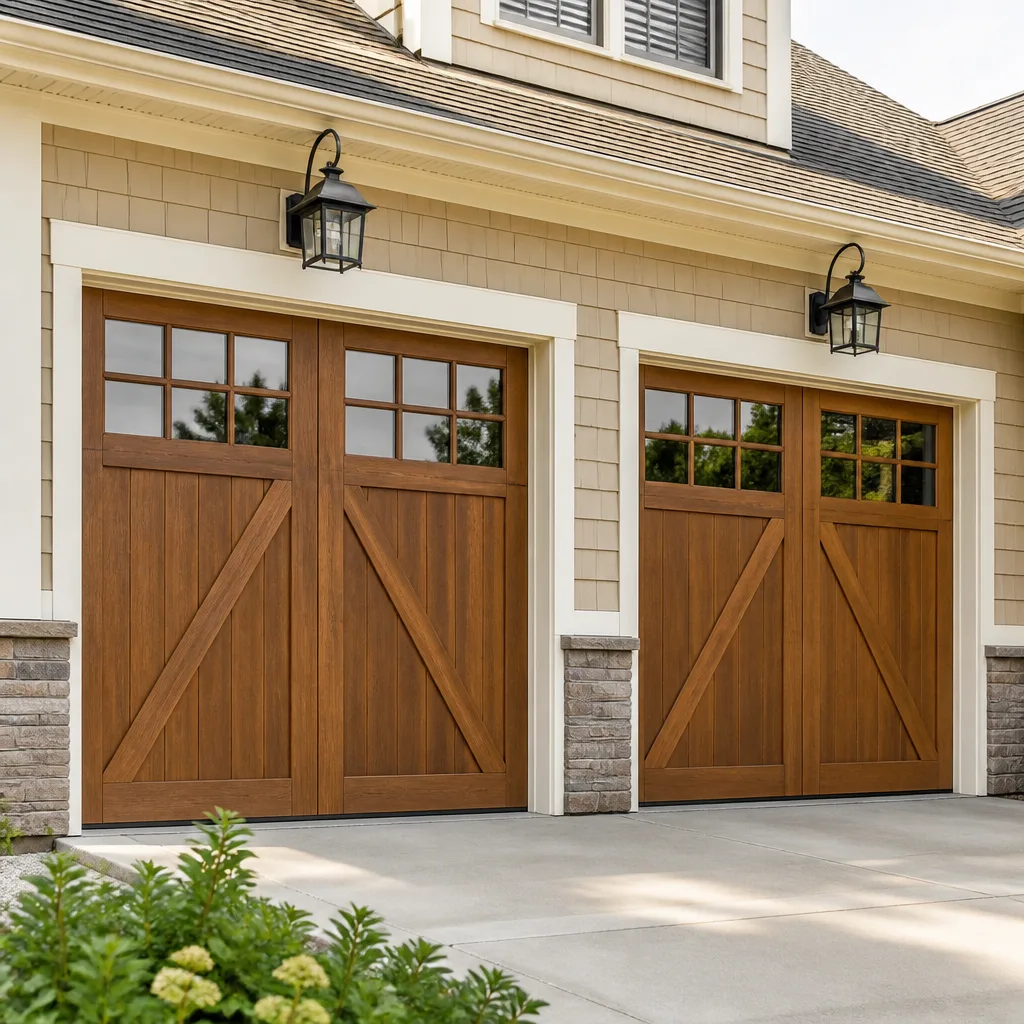 Carriage house
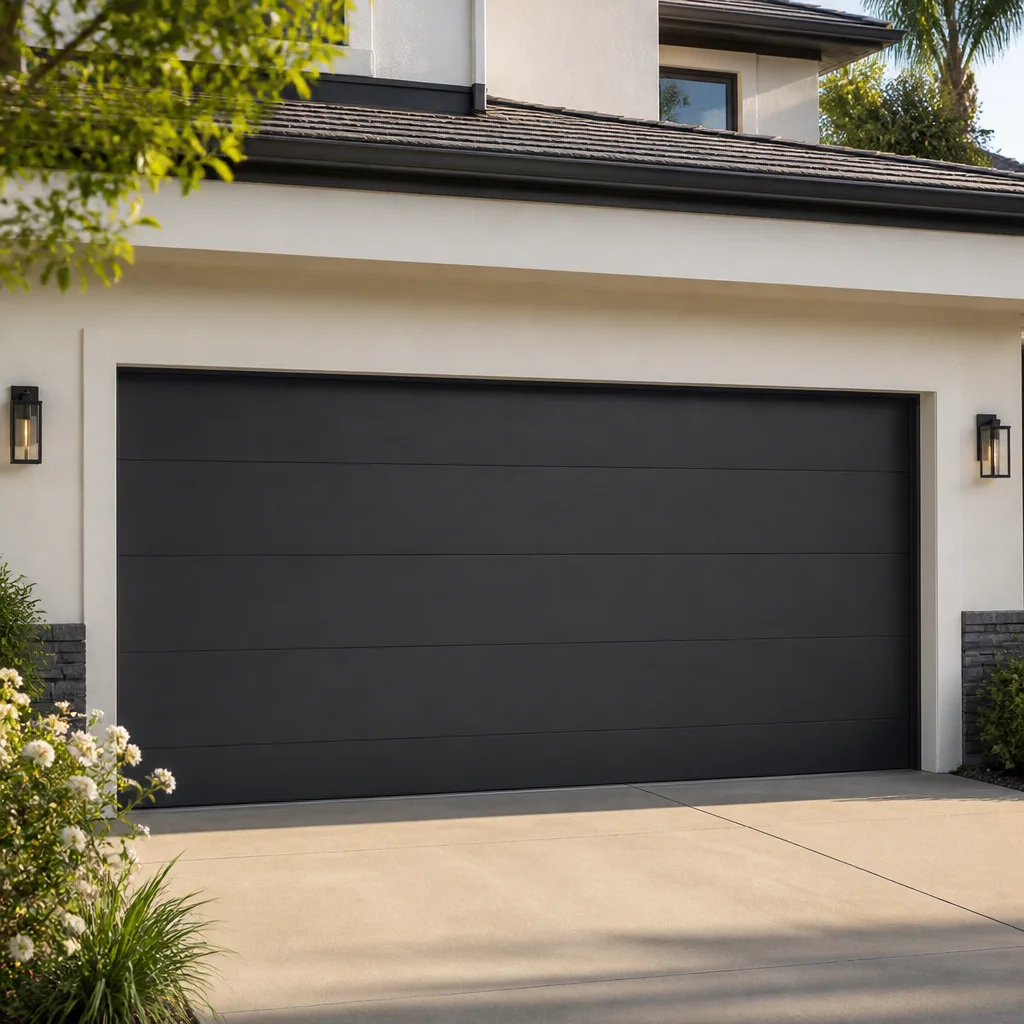 Modern flush
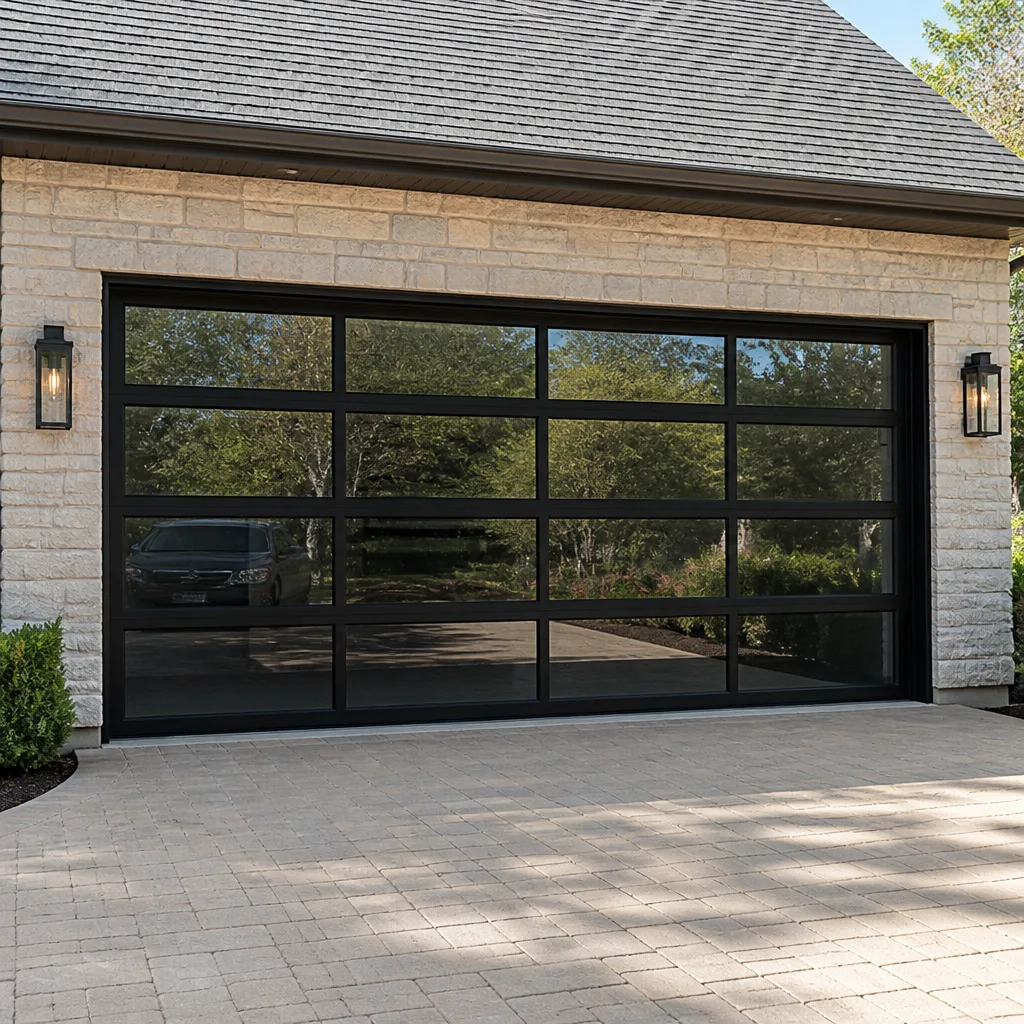 Full-view glass
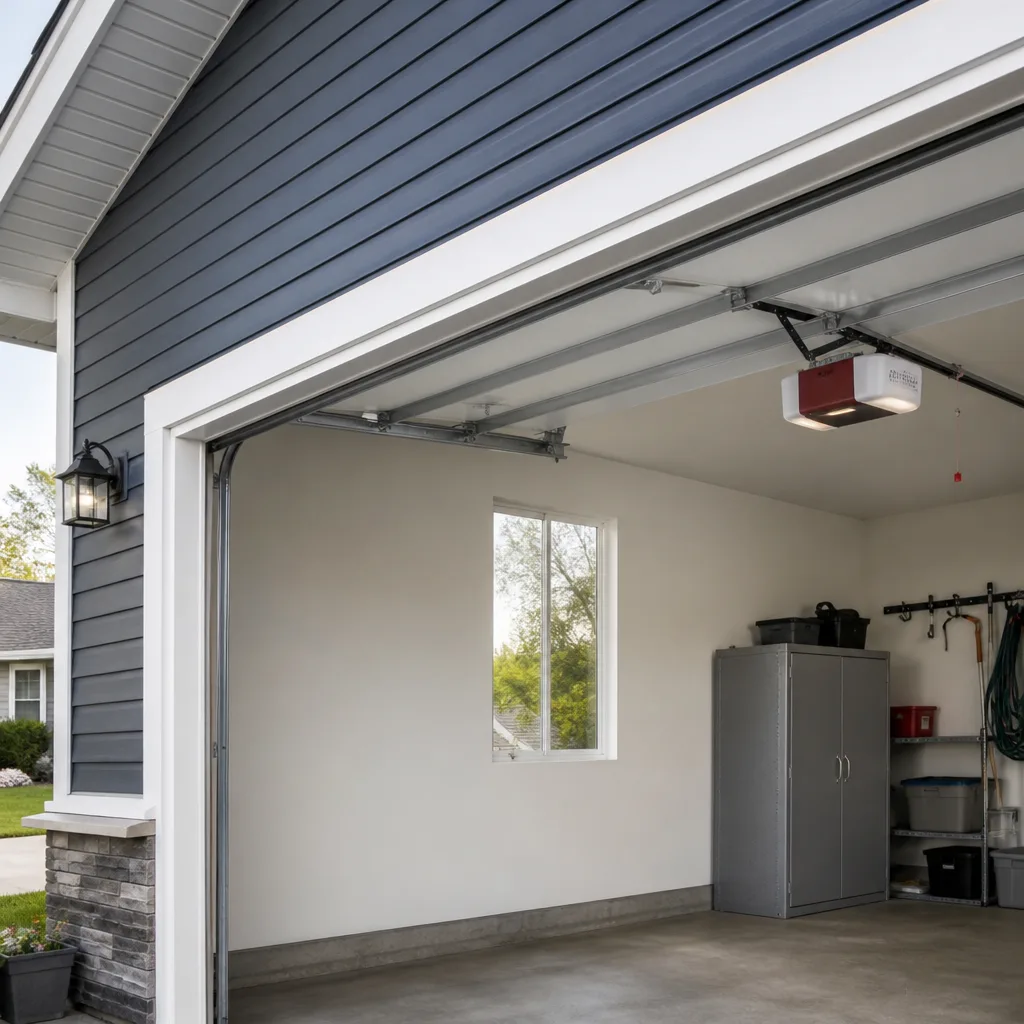 LiftMaster openers
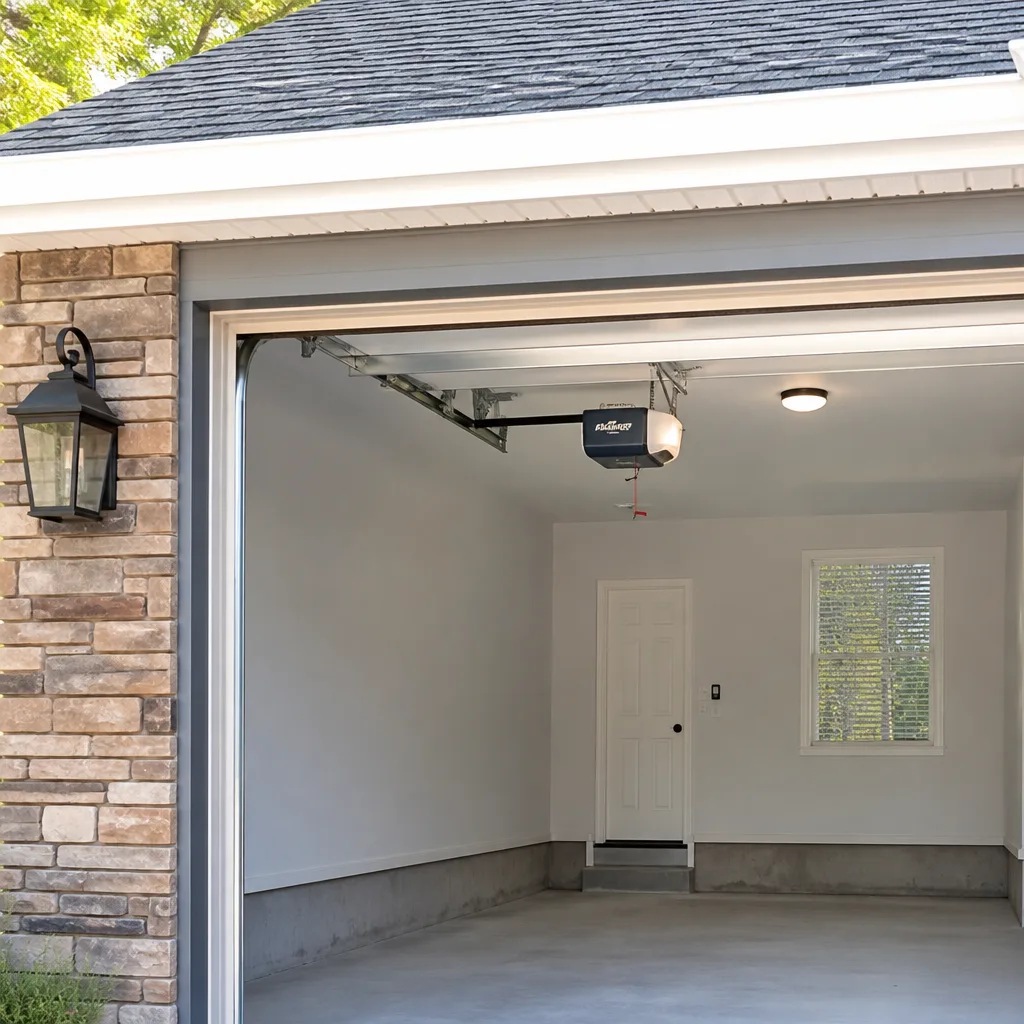 Chamberlain openers
Full 25-point door and opener safety check with every visit - springs, cables, rollers, tracks, and your LiftMaster or Chamberlain opener included
You get a price before we start. It does not change when the truck arrives.
Get your free estimateGarage Door Repair Troubleshooting in Alameda: Common Problems and How to Fix Them
If your garage door reverses before it hits the floor, that’s not a “sensor issue.” It’s almost always a force-limit miscalibration or an obstruction in the travel path, and treating it as a sensor problem will waste your afternoon. Most Alameda homeowners call us after spending hours chasing the wrong culprit. This guide teaches you to read your door’s symptoms like a technician. We’ll map specific failures to the four mechanical subsystems that cause nearly every garage door problem in Alameda, show you which fixes are safe to attempt, and tell you exactly when to pick up the phone.
Styles & brands we work with
- Raised-panel steel
- Carriage house
- Modern flush
- Full-view glass
- LiftMaster openers
- Chamberlain openers
Quick Answer
Garage door troubleshooting in Alameda starts with identifying which subsystem has failed: springs, cables, rollers, or the opener’s logic board. A loud bang followed by a door that won’t lift means a torsion spring broke. A door that tilts or drops on one side points to a cable failure. A motor that runs without moving the door signals an opener disconnect or stripped gear. Many minor issues like lubrication, sensor alignment, and limit adjustments are safe DIY fixes. Torsion spring replacement is not, and that’s when you should call garage door repair professionals.
Table of Contents
- Symptom-to-Subsystem Mapping: The Four Failure Points
- Spring Failure: The Bang, the Sag, and the Won’t-Lift
- Cable Failure: When One Side Drops
- Rollers and Track Wear: The Grind and Shudder
- Opener Logic Board and Motor Failure: It Runs But Nothing Moves
- The Manual Disconnect Test: Isolate Mechanical from Electrical
- Reading Opener Error Codes Across Major Brands
- Alameda-Specific Wear: What Salt Air Does to Springs and Cables
- Common Mistakes to Avoid
- When to Call a Professional
- Frequently Asked Questions
- The Bottom Line
Symptom-to-Subsystem Mapping: The Four Failure Points
Every garage door system, regardless of brand or age, relies on four mechanical subsystems working in coordination. When one fails, the symptom tells you which one. Learning this mapping cuts diagnostic time in half because you stop guessing and start observing. Here’s how the subsystems break down:
- Springs counterbalance the door’s weight. When they fail, the door becomes suddenly heavy, won’t lift, or slams shut.
- Cables transfer spring tension to the door. When they snap or fray, the door tilts, drops on one corner, or hangs unevenly.
- Rollers guide the door along the track. When they wear out, you hear grinding, the door shudders, or it sticks mid-travel.
- The opener’s logic board interprets sensor input and controls the motor. When it malfunctions, the motor may run without moving the door, reverse unexpectedly, or ignore remote signals entirely.
Here’s the technique we use on every call in Alameda: before touching anything, operate the door once and listen. A sharp bang is a spring. A scraping or popping sound while the door moves is a cable or roller. A humming motor with zero door movement is the opener’s travel module or a stripped gear. A door that starts, stops, and reverses is usually the force limit or an obstruction, not a sensor. Once you know which subsystem is talking, the fix becomes obvious. That’s the difference between a technician’s diagnosis and a generalist’s guess.
Spring Failure: The Bang, the Sag, and the Won’t-Lift
Torsion springs are the most dangerous component on your garage door. They store enormous mechanical energy, wound tightly on a shaft above the door opening. When one snaps, the sound is unmistakable: a sharp crack like a gunshot, often loud enough to hear from inside the house. In Alameda, we hear this call at least once a week, usually from homeowners who thought someone had hit their garage with a car.
After the bang, the symptoms are consistent. The door won’t lift, or it lifts a few inches before the opener’s force limiter gives up. If you try to lift it manually, it feels like the door weighs three hundred pounds. That’s because it does. A standard double-car garage door in Alameda weighs between 150 and 300 pounds depending on material and insulation. Springs do roughly ninety percent of the lifting. Without them, you’re fighting dead weight.
Springs are rated for a specific number of cycles, typically 10,000 for standard springs and up to 30,000 for high-cycle options. In Alameda’s climate, standard springs near the estuary often fail faster than their inland counterparts. Salt air accelerates corrosion on the spring coil surface, creating micro-pits that become stress points. A three-year-old spring in Alameda can look like a five-year-old spring in Fresno. We’ll get into that more later in this guide.
One critical point: a spring price you see quoted anywhere is for one spring. Garage doors almost always use a matched pair. When one spring breaks, the other has the same wear and is just as close to failing. Replacing both at once is standard practice. That means a pair costs roughly twice the single-spring rate. Never let anyone quote you one spring and then act surprised when the invoice doubles.
Safety note: torsion spring replacement is not a DIY job. The winding and unwinding process requires specialty bars, exact tension calculations, and experience with the door’s weight distribution. A spring releasing unexpectedly can cause severe injury. Do not attempt to remove, adjust, or replace a torsion spring yourself. This is the one repair where we universally recommend a trained professional, no exceptions. The danger is mechanical, not hypothetical.
Cable Failure: When One Side Drops
Cable failures look different from spring failures, and the distinction matters. Springs fail with a bang and a door that won’t move. Cables fail with a visual symptom: the door tilts. One side hangs lower than the other, or the door appears crooked in the opening. You might also see a frayed steel cable dangling from the door’s side track.
Here’s what’s happening mechanically. Your door has two cables, one on each side, running from the bottom bracket up around a drum and anchored to the torsion spring shaft. When a cable snaps or detaches, that side of the door loses its lift connection. The remaining cable pulls the opposite side, and the door twists in its tracks. Continuing to operate the door in this condition bends the track, strips the rollers, and can pull the remaining cable out of its drum.
Alameda homes see cable failures in two common scenarios. First, age and abrasion: cables rub against the drum every cycle, and over years the steel strands fray until they snap. Second, impact: a car bumper or a bicycle handlebar catching the cable can kink it, and a kinked cable fails within months. We’ve seen both patterns across Alameda neighborhoods, from the older Craftsman-style homes near Park Street to the newer builds on Bay Farm Island.
Can you replace a garage door cable yourself? The short answer is no, for the same reason spring work is dangerous. Cables attach to the bottom bracket under spring tension. Loosening the wrong bolt releases that tension through the cable, and the cable becomes a steel whip. Even with the door fully open and clamped, the risk is real. If you see a frayed cable, stop using the door and call a technician. The repair itself is straightforward for someone with the right tools and training, but the setup requires caution.
One diagnostic tip before you call: check whether the door is rubbing against the track on the affected side. If the door is visibly crooked, the cable is the cause. If the door is straight but shudders while moving, that’s more likely a roller or track problem, which we cover next.
Rollers and Track Wear: The Grind and Shudder
Rollers are the unsung workhorses of your garage door system. Each door has between eight and twelve rollers, and they ride the track every single time the door opens or closes. When they wear out, you’ll know. The door grinds, squeals, or shudders as it travels. In severe cases, it jerks or sticks at a specific point in the cycle.
There are two roller types you’ll find in Alameda garages. Nylon rollers are standard on newer doors and most factory installations. They’re quieter and don’t corrode. Steel rollers with bearings are common on older doors, and in Alameda’s salt-air environment, those bearings rust faster than they would inland. A rusty bearing doesn’t roll, it slides, and a sliding roller drags along the track, wearing a flat spot into both the roller and the track itself.
The fix for a worn roller depends on severity. A roller that’s noisy but intact usually benefits from cleaning and lubrication with a silicone-based garage door lubricant, not WD-40. A roller with a visibly cracked or flat wheel needs replacement. Rollers attached to the bottom bracket and the lift cable are under spring tension and should not be removed by a homeowner. Rollers attached to the vertical track with simple brackets are often replaceable without tension, but they still require the door to be secured properly.
Track wear often accompanies roller failure. A dragging roller wears a groove into the track, and that groove catches the roller on each pass, creating the shudder you feel. If the track is bent, the door may bind entirely. Straightening a track is sometimes possible with careful work, but bent tracks on the curved section are usually replaced, not repaired.
One Alameda-specific note: our older garages, particularly the ones built before 1970, often have original steel tracks that have outlasted multiple roller sets. Those tracks are usually solid, but their mounting brackets may have pulled loose from the wall framing over decades of use. If your door shudders only at one point, check whether a track bracket has wiggle. Tightening a loose bracket is a safe DIY fix that takes ten minutes.
Opener Logic Board and Motor Failure: It Runs But Nothing Moves
This is the symptom that confuses homeowners the most: you press the button, the motor hums, but the door doesn’t move. Or the motor runs and the door starts to lift, then stops and reverses. Or the motor runs for two seconds and shuts off entirely. Each behavior points to a different opener subsystem, and understanding the distinction saves you from buying a part you don’t need.
When the motor hums but the door doesn’t move, check the manual disconnect first. The disconnect is that red cord hanging from the opener rail. If it’s been pulled, the opener carriage is detached from the door, and the motor spins the drive mechanism without engaging the door. Reconnecting is usually a matter of pulling the cord again while running the opener until the carriage locks back into place. This is a safe, no-tools fix.
If the disconnect is engaged and the motor still runs without moving the door, the likely culprit is a stripped drive gear. This is common on older Chamberlain and Craftsman openers, where the plastic gear inside the opener housing wears down over time. The motor spins, but the gear teeth are gone, so nothing transfers motion. The telltale sign is a grinding or whirring sound from the opener unit itself, not from the door. Gear replacement is a moderate repair, and on units older than ten years, replacement of the opener often makes more sense.
When the door starts moving and then reverses before hitting the floor, the first thing to check is the force limit adjustment. Most openers have two adjustment screws on the unit: one for up-force, one for down-force. If the down-force is set too low, the door encounters normal resistance mid-travel, the opener interprets it as an obstruction, and reverses. Alameda’s older wooden doors are heavy, and they often need a slightly higher force setting than the factory default. Adjusting the force limit is a safe DIY task, but make small incremental changes and test the door’s reversal with a 2×4 laid flat under the door. If the door doesn’t reverse on contact with the board, the force is set too high, and that’s a safety problem.
Logic board failures are the most misdiagnosed opener problem. Symptoms include intermittent operation, remotes that work sometimes, the door reversing for no reason, or the opener ignoring the wall button entirely. Before condemning the board, replace the remote batteries and check the safety sensor alignment. If those are fine and the problems persist across all remotes and the wall button, the logic board is likely the issue. On newer LiftMaster and Genie openers, this often shows up as an error code, which we cover in the error code section below.
The Manual Disconnect Test: Isolate Mechanical from Electrical
This is the single most useful diagnostic technique we can teach an Alameda homeowner. The manual disconnect test isolates whether your problem is mechanical, which means springs, cables, rollers, or track, or electrical, which means the opener’s motor, logic board, or sensors. You can do it in under two minutes, and it gives you accurate information to relay to any technician before they arrive.
- Close the door completely. If the door won’t close, skip this test and call for repair. A door stuck open with a suspected spring failure is under tension and should not be forced.
- Pull the red manual disconnect cord. It hangs from the opener rail, usually near the top of the door opening. Pulling it detaches the door from the opener carriage.
- Lift the door by hand. Grip the bottom edge or the handle if the door has one. The door should lift smoothly with moderate effort, roughly 10 to 20 pounds of force for a balanced door.
- Observe how it moves. If it lifts smoothly and stays open by itself about halfway up, the mechanical system is balanced and the problem is in the opener. If it feels heavy, won’t lift, or drops when you let go, the mechanical system has failed, most likely a spring or cable.
- Take note of any resistance points. If the door binds at a specific spot while lifting manually, look at the track and rollers at that height. A bent track or a seized roller will show up here.
- Reconnect the opener. Run the opener while guiding the carriage until it clicks back into the release mechanism. Most openers reconnect automatically within a few inches of travel.
This test costs you nothing and prevents the wrong diagnosis. We’ve lost count of how many Alameda homeowners called us for an “opener problem” that turned out to be a broken spring, or a “spring problem” that was actually a stripped gear. The disconnect test answers the question before you spend money on a service call. If the door lifts easily by hand, the opener is the problem. If it doesn’t, the mechanical system is the problem. That single distinction is worth more than any brand-specific tutorial.
Reading Opener Error Codes Across Major Brands
Modern openers diagnose themselves. Every major brand uses LED lights or a small display to communicate error conditions, and reading those codes correctly saves you from describing vague symptoms to a technician. Here’s how to read the three most common systems in Alameda garages: LiftMaster, Chamberlain, and Genie. Raynor and Craftsman openers often use the same logic boards as Chamberlain and LiftMaster, since those brands share manufacturing lines.
Chamberlain and LiftMaster: These openers use the up and down arrows on the wall control panel. Press the learn button or the diagnostic button and count the flashes on the LED. One flash means the safety sensors are misaligned or blocked. Two flashes indicate a door obstruction or a force setting that’s too low. Three flashes point to a wiring issue at the wall button or a short in the sensor wiring. Four flashes typically mean the door balance is off, often a spring that’s lost tension. Five flashes on LiftMaster units indicate a motor overheat condition, usually from a door that’s too heavy or a spring that’s failed completely.
Genie: Genie openers use a round LED on the powerhead. Red and green lights flash in a sequence. Two red flashes indicate a sensor obstruction. Three red flashes point to a door obstruction or an unbalanced door. Four red flashes typically signal a problem with the RPM sensor, which detects whether the motor is spinning at the expected speed. If the motor is running but the door doesn’t move, the RPM sensor may be reading correctly while the gear is stripped, so check the manual disconnect first.
Here’s the practical takeaway: when you read an error code, write it down and include it when you call for service. A technician who knows the door is throwing a four-flash code before arriving can bring the right parts and the right plan. garage door opener repair is faster and cheaper when the diagnosis starts before the truck rolls. We service openers from all major brands, so whatever you have installed, we can read the code and fix the underlying problem, not just the symptom.
Alameda-Specific Wear: What Salt Air Does to Springs and Cables
Alameda’s geography creates a specific wear pattern on garage door hardware that you won’t find in most of the Bay Area. The island sits in the estuary, surrounded by water on multiple sides. The air carries moisture and salt, and that combination accelerates corrosion on exposed steel components. This is not a generic “coastal” claim. It’s what we observe on service calls from the Gold Coast to the Fernside district, and it changes the maintenance math for homeowners.
Here’s the difference. A torsion spring in an inland city like Fresno or Sacramento typically shows surface rust after five or six years. In Alameda, we see the same rust at three years. The salt air creates micro-pitting on the spring coil, and those pits become stress risers. The spring doesn’t gradually weaken; it fractures at the pit when the stress exceeds the reduced cross-section. That’s why Alameda springs often fail with a bang at three or four years instead of quietly wearing out at eight. The same applies to cables, which rust at the drum attachment point and snap.
What can you do about it? Lubricate your springs and cables with a silicone-based lubricant twice a year. The lubricant isn’t a magic shield against salt, but it displaces moisture and slows the pitting process. Check for surface rust at the coil joints during each lubrication pass. If you see rust flakes or pitting, the spring is in its final year of service. Budget for replacement before it fails, not after.
One neighborhood-specific note: homes closer to the water, particularly along Shoreline Drive and on Bay Farm Island, see faster corrosion than homes in the central island neighborhoods like East End or Bronze Coast. The difference is measurable in months, not years, but it’s consistent. If your garage faces the estuary and your springs are four years old, you should be planning for replacement, not hoping for another season.
We recommend high-cycle springs for Alameda garages. They cost more upfront, but they’re rated for 20,000 to 30,000 cycles instead of 10,000. For a homeowner who opens the door twice a day, that’s the difference between seven years and twenty. If you’re replacing springs anyway, the upgrade is straightforward. Ask for it specifically when you get a quote.
Common Mistakes to Avoid
- Lubricating a broken spring hoping it’ll start working again. A snapped spring is a physical break in the steel. No amount of lubricant, adjustment, or wishful thinking changes that. If the spring is broken, it needs replacement, full stop.
- Replacing one spring instead of the pair. Garage door springs wear at the same rate. When one breaks, the other is at the end of its life. Replacing only the broken spring means you’ll pay for another service call within months.
- Adjusting the force limit to maximum to “fix” a heavy door. A door that’s suddenly heavy means a spring has lost tension or failed. Cranking the opener’s force setting to compensate damages the motor, strips the gear, and creates a safety hazard.
- Ignoring a frayed cable because “it still works.” Cables under tension don’t fail gradually. A frayed cable is a broken cable waiting to happen, and when it goes, the door can drop suddenly. Never operate a door with a visibly damaged cable.
- Using WD-40 on rollers and tracks. WD-40 is a solvent, not a lubricant. It cleans away grease and leaves metal dry. Use a silicone-based garage door lubricant specifically designed for the job.
- Dismissing a reversing door as a sensor problem. Nine times out of ten, a door that reverses midway is a force-limit issue or an obstruction, not a misaligned sensor. Check the travel path and force settings before touching the sensors.
- Attacking torsion spring bolts without proper tools and training. This isn’t a mistake, it’s a risk. Torsion springs store enough energy to cause severe injury. No repair tutorial makes it safe. This is where the DIY line is drawn, permanently.
When to Call a Professional
Some garage door problems are electrical annoyances. Others are mechanical failures under dangerous tension. You should call a professional when the manual disconnect test reveals a heavy or unbalanced door, when a spring has visibly snapped or sagged, when a cable is frayed or detached, when the door shudders violently during travel, or when an opener error code persists after you’ve checked the sensors and batteries. Oakridge Garage Door Service offers free estimates throughout Alameda. We work on every major brand, including Chamberlain, LiftMaster, Genie, Clopay, Amarr, Wayne Dalton, Craftsman, and Raynor, so whatever is installed in your garage, we can diagnose and repair it without sending you to a second contractor. Call (855) 341-8689 for a free estimate. We answer 24/7. Fast dispatch from 7am to 7pm, Sunday through Friday.
Frequently Asked Questions
Spring replacement in Alameda typically costs between $180 and $340 for a single spring, and since springs are replaced in matched pairs, expect to pay roughly double that for a complete job. The final price depends on the door’s weight, spring cycle rating, and whether cables and brackets are also due for replacement. Call (855) 341-8689 for an exact quote, estimates are free.
Yes, we offer same-day service for most repairs. We answer 24/7 and dispatch technicians from 7am to 7pm, Sunday through Friday. A call outside dispatch hours is booked into the next opening.
Most reversing doors are caused by a force-limit setting that’s too low or an obstruction in the travel path, not a sensor alignment issue. Check for debris on the track, then test the force adjustment in small increments. If the problem persists, the logic board may be reading resistance incorrectly.
No. Torsion springs are under extreme tension and can cause severe injury if mishandled. This is the one repair where we universally recommend a trained professional. The risk is mechanical and immediate, not hypothetical.
Pull the manual disconnect cord and try lifting the door by hand. If it lifts smoothly with moderate effort, the opener is the problem. If it feels heavy or won’t lift, the springs or cables have failed. This test takes two minutes and gives you a definitive answer.
Yes. Homes closer to the estuary see accelerated corrosion on springs and cables compared to inland cities. A spring that would last seven years inland may fail at four or five years in Alameda. Lubricating twice a year and choosing high-cycle springs when replacing helps extend the lifespan.
The Bottom Line
Most garage door problems trace back to one of four subsystems: springs, cables, rollers, or the opener’s logic board. Learning to identify which subsystem is failing, using the symptom mapping and the manual disconnect test we’ve covered, saves you hours of frustration and prevents costly misdiagnosis. Some fixes are genuinely safe for homeowners: lubrication, sensor alignment, limit adjustments, and bracket tightening. Others, particularly anything involving torsion springs or cables under tension, are not. Alameda’s salt air shortens the life of exposed hardware, so maintenance matters more here than inland. When in doubt, call (855) 341-8689. We’ll diagnose the actual problem and fix it the first time.
Written by the team at Oakridge Garage Door Service, serving Alameda since 2015.
See the difference
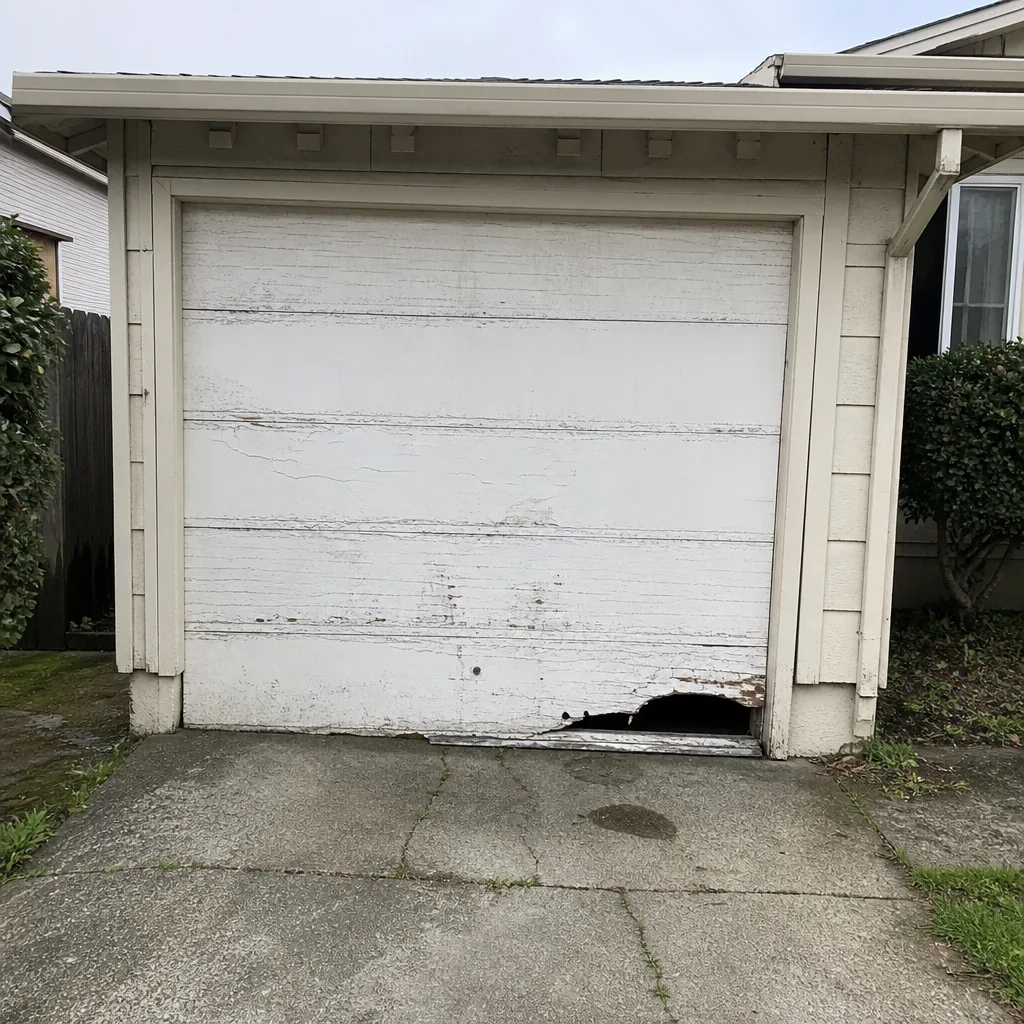 Before
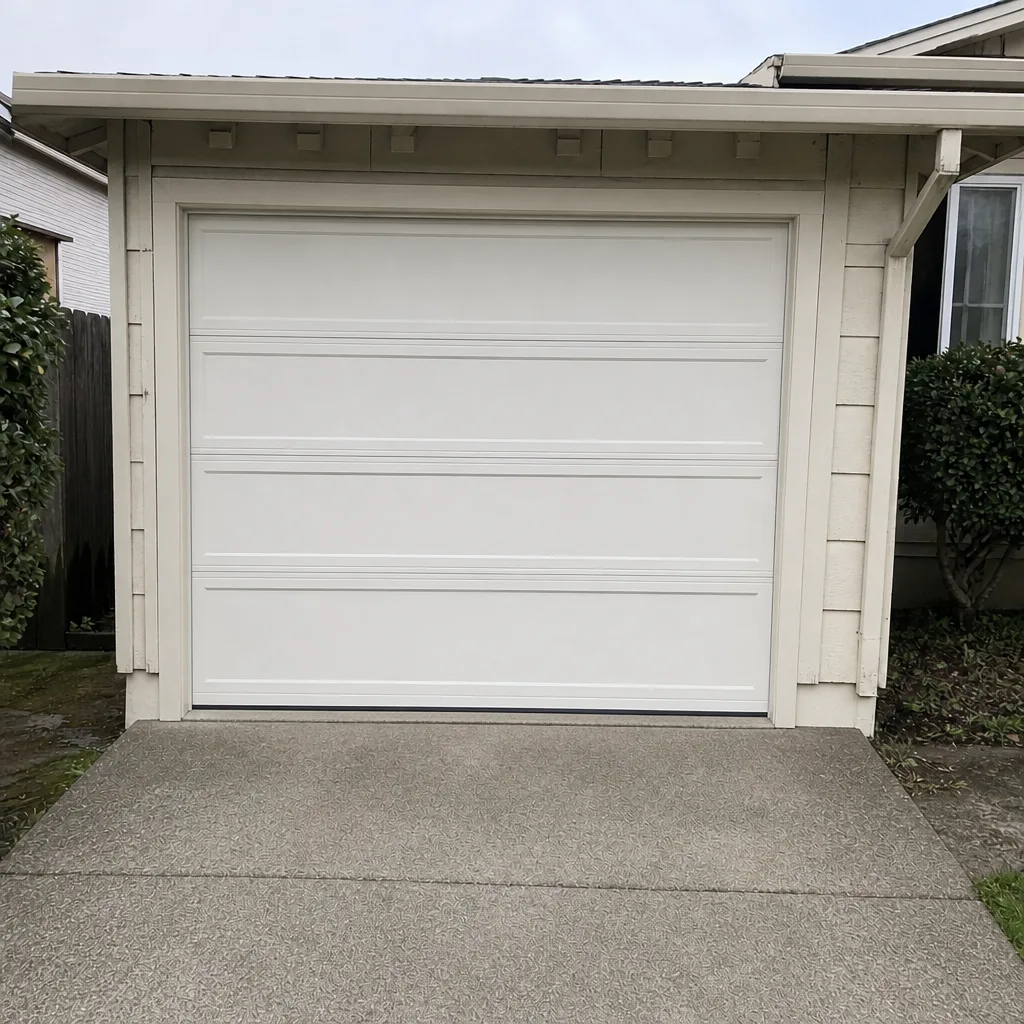 After
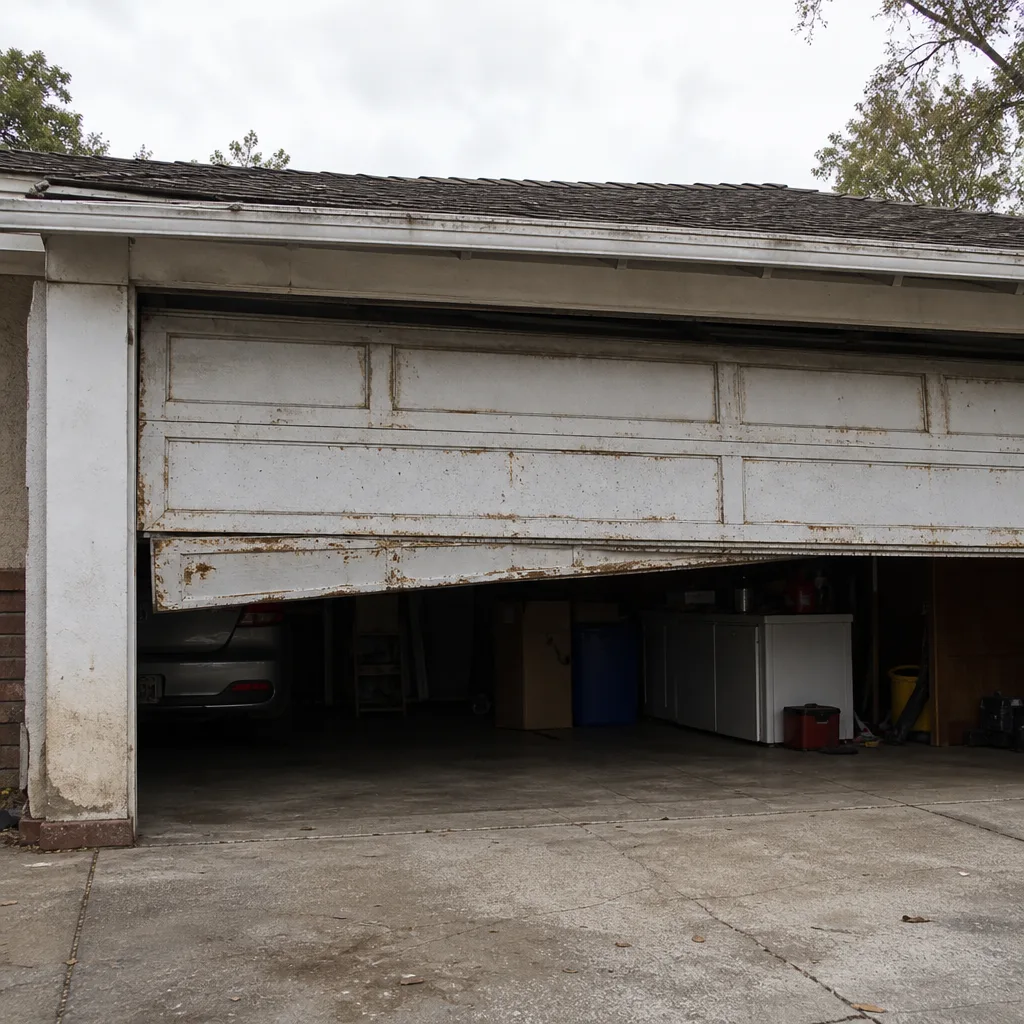 Before
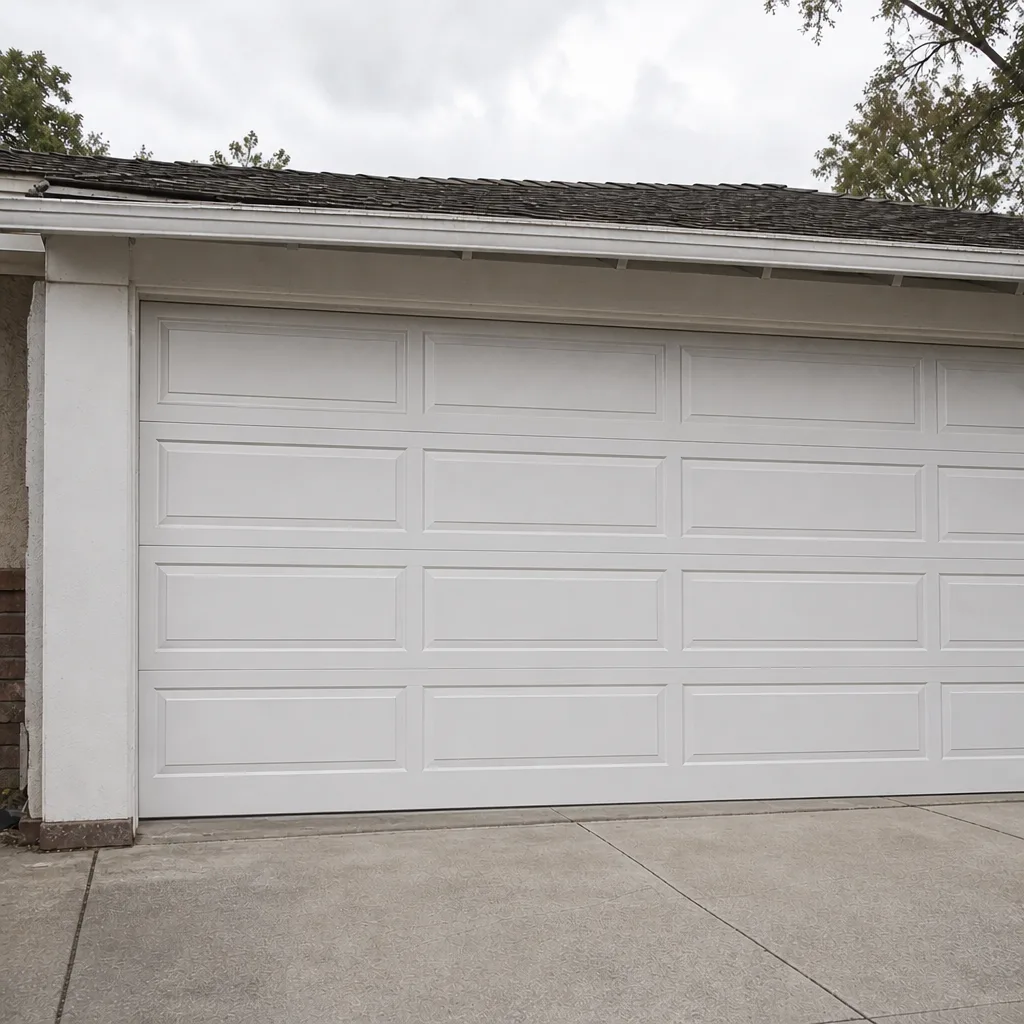 After
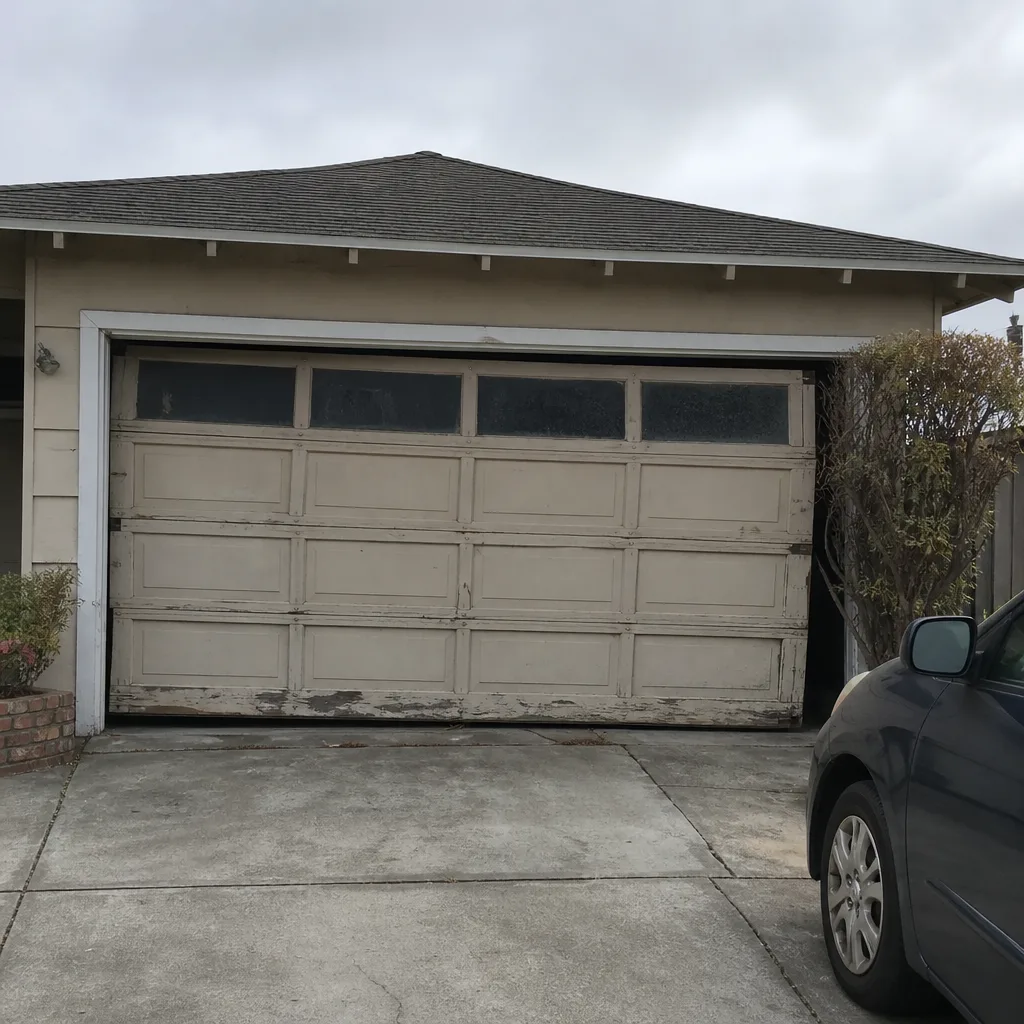 Before
 After