
Last updated November 4, 2026
 Raised-panel steel
 Carriage house
 Modern flush
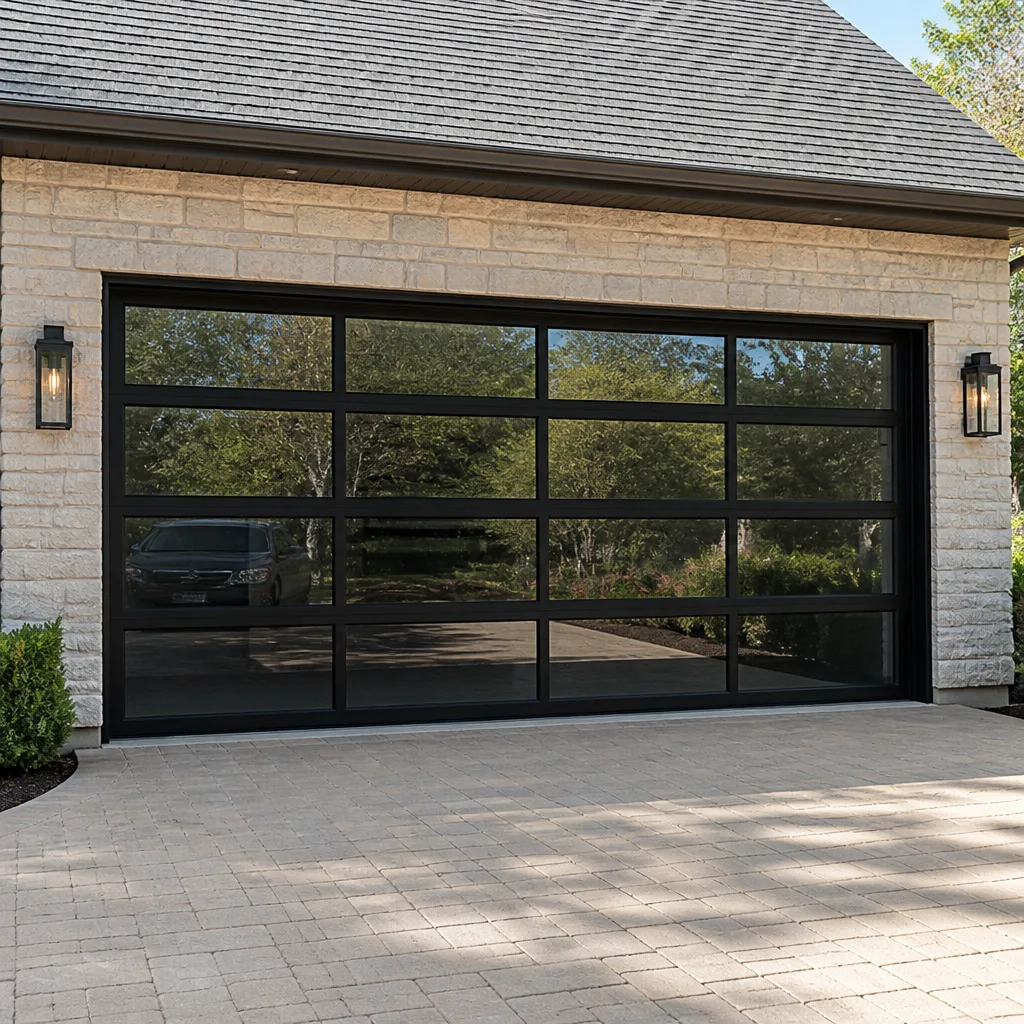 Full-view glass
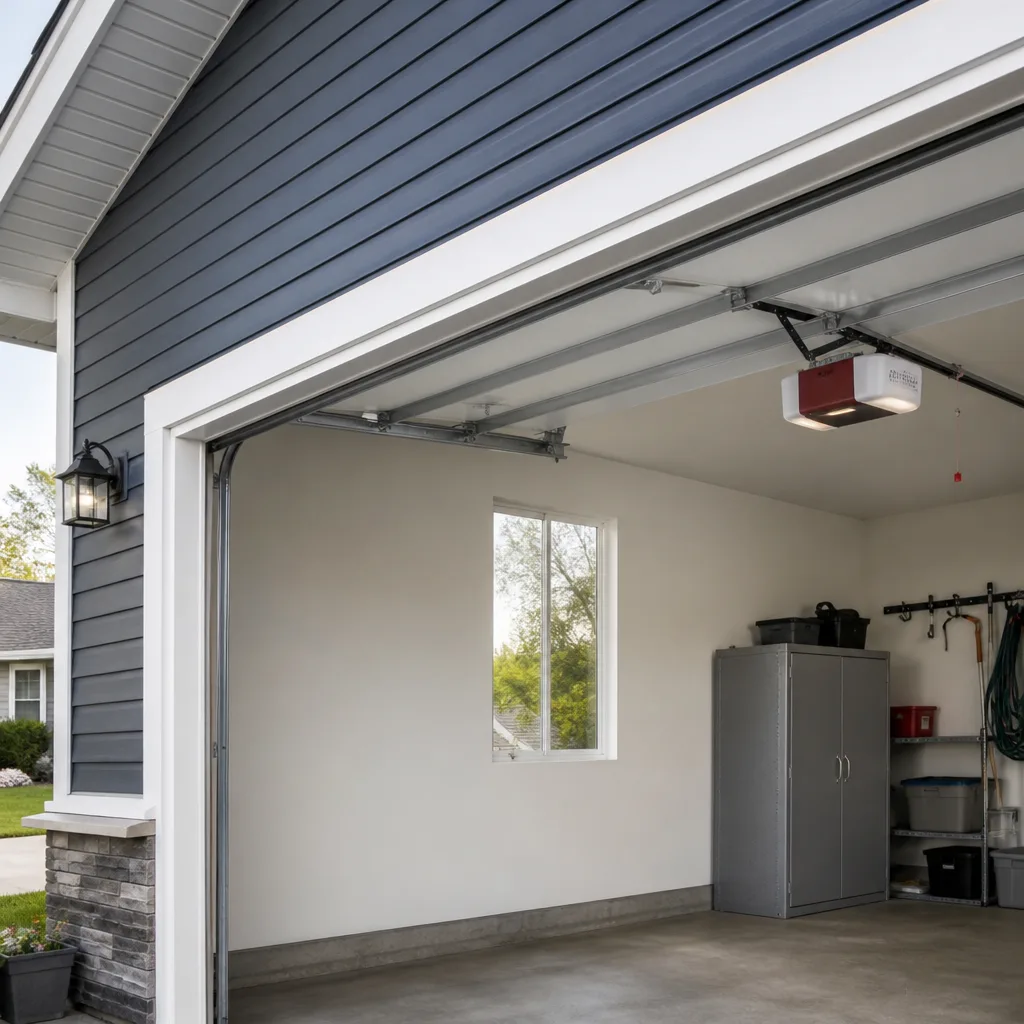 LiftMaster openers
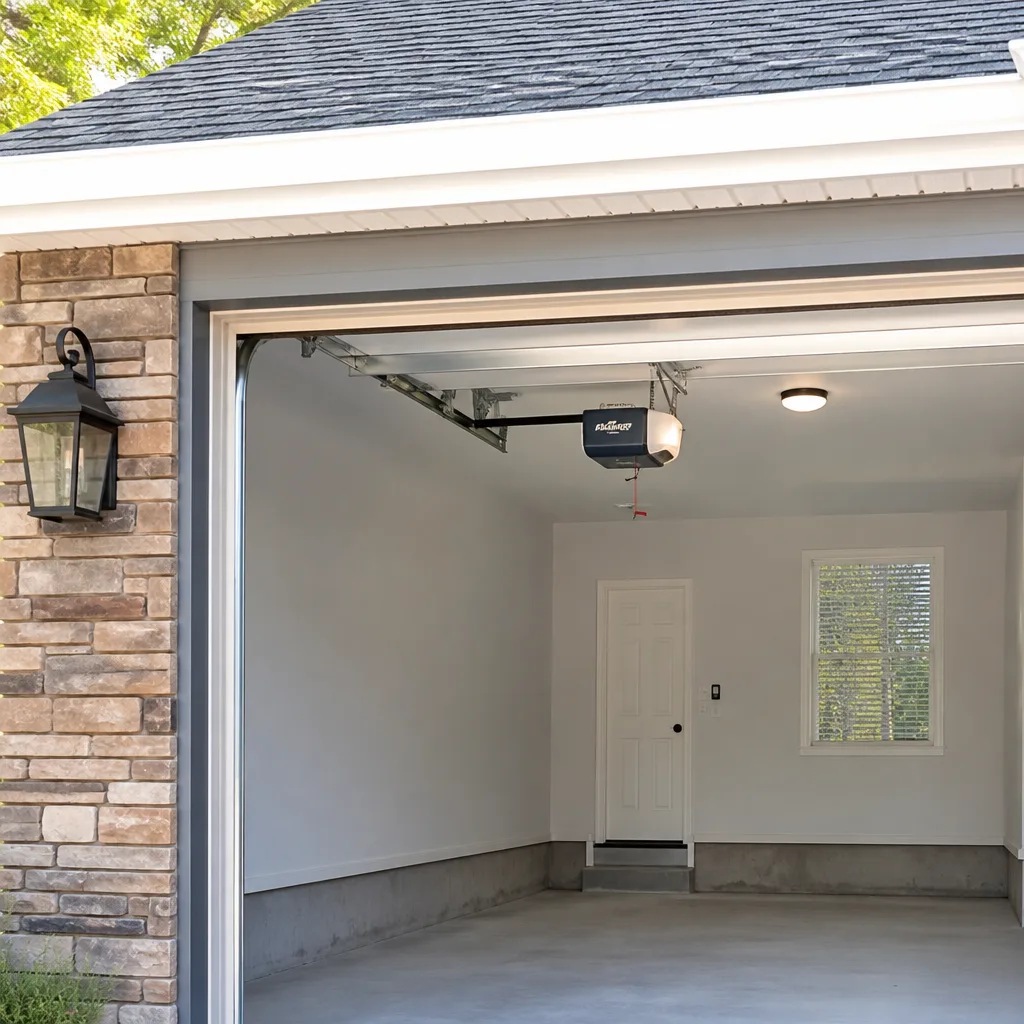 Chamberlain openers
Full 25-point door and opener safety check with every visit - springs, cables, rollers, tracks, and your LiftMaster or Chamberlain opener included
You get a price before we start. It does not change when the truck arrives.
Get your free estimateGarage Door Repair Maintenance Checklist for Alameda Homeowners
Most maintenance checklists you’ll find online are written for a generic American house somewhere in the middle of the country. Your garage door in Alameda doesn’t live in that house. It lives near the bay, where salty humidity settles into every exposed spring, bearing, and cable. The failure you’re most likely to face isn’t wear and tear. It’s corrosion. That’s why this checklist starts with what oxidation actually looks like on the parts that matter most, before it ever asks you to check anything else.
Quick Answer
An effective garage door maintenance routine in Alameda means inspecting the torsion springs, cables, rollers, and brackets for salt-driven corrosion every quarter, lubricating with a coastal-grade silicone or lithium product twice a year, and testing the opener’s force-reversal function after every foggy season. The highest-risk item is the torsion spring, which can snap without warning when corrosion weakens the coil. Most of the checklist below takes under 20 minutes and doesn’t require special tools.
Styles & brands we work with
- Raised-panel steel
- Carriage house
- Modern flush
- Full-view glass
- LiftMaster openers
- Chamberlain openers
Table of Contents
- Corrosion-First Inspection Sequence: What to Look For Before Anything Else
- Quarterly Checklist: The 15-Minute Alameda Routine
- Annual Service Tasks: What Needs a Deeper Look Once a Year
- Lubrication Product Selection for Coastal Humidity
- Opener Force-Limit Testing: Why Fog Season Changes Things
- Track Alignment Drift in Older Alameda Homes
- Maintenance Across Different Brands: Amarr, Wayne Dalton, Craftsman, and Raynor
- Common Mistakes to Avoid
- When to Call a Professional
- Frequently Asked Questions
Corrosion-First Inspection Sequence: What to Look For Before Anything Else
A torsion spring corroded by salt air doesn’t fail slowly. It snaps, often without warning, releasing up to 200 ft-lbs of stored energy. Standard checklists tell you to “inspect springs.” What they rarely show is what a spring that’s a month away from failure actually looks like.
Here’s the corrosion inspection sequence we use when evaluating doors across Alameda. Run through it in this exact order, because each item builds on what you saw before it.
Step 1: Look at the torsion spring coils
Stand inside the garage with the door closed. Look up at the spring mounted on the header above the door. You’re looking for three specific things:
- Red-brown streaking along the coils. This is the first visible sign that the galvanized coating is failing and the underlying steel is oxidizing.
- White or gray powdery residue packed between coils. This is zinc oxide, a byproduct of galvanic corrosion, and it means the protective layer is actively degrading.
- Uneven gaps between coils. A healthy torsion spring has uniform spacing. If one section looks more compressed or stretched than the rest, that coil has lost tension and the spring is no longer balancing the door evenly.
If you see any of these three, schedule a garage door repair sooner rather than later. A corroded spring under full tension is a component you don’t want to handle yourself. The spring can break while the door is closed, which is the safest possible position for it to fail, but it can also break while the door is up. That’s when it releases its stored energy all at once.
Step 2: Check the lift cables at their bottom connection
The cables attach to the bottom brackets on either side of the door. Corrosion attacks the cable where it wraps around the drum at the top and where it meets the bracket at the bottom. Run your fingers lightly along the cable (with the door closed, no tension in your hand). Feel for:
- Rough, pitted texture instead of smooth braided wire
- Frayed strands sticking out from the cable body
- Discoloration that looks more orange than the original gunmetal gray
A frayed cable can snap under load. When it does, it whips and the door loses its counterbalance. That’s the kind of failure that drops a door hard.
Step 3: Inspect the bottom brackets and hinges
These are stamped steel and usually powder-coated, but the coating wears thin at the pivot points. Look at the edges of each bracket and hinge leaf. Corrosion shows up as bubbling under the paint, which means the metal underneath is already oxidizing. Bubbled coating means moisture got underneath it. You’re not looking at a cosmetic issue. You’re looking at a bracket that’s quietly losing structural thickness.
Quarterly Checklist: The 15-Minute Alameda Routine
This is the list you’ll actually run. Set a calendar reminder for the first week of March, June, September, and December. Each run-through takes about 15 minutes and needs nothing more than a flashlight, a rag, and the lubricant we’ll discuss below.
- Run the door through a full open-close cycle by hand (use the manual release only if the door is closed and you’re comfortable with the process). Listen for any change in sound. A healthy door makes consistent noise from start to finish. A door that suddenly grinds or chirps halfway up has something changing in its mechanics.
- Watch the door as it moves. It should travel straight up and down without wobbling side to side. If you see lateral movement at any point in the cycle, note it. That’s usually a roller or track issue developing.
- Check the balance. Pull the manual release and lift the door about halfway. Let go. A well-balanced door stays put. If it drifts down, the springs are losing tension. If it shoots up, they’re over-tensioned. Either condition means the opener motor is working harder than it should.
- Look at the rollers. Nylon rollers with sealed bearings shouldn’t show wear for many years. Steel rollers should show smooth rolling surfaces without flat spots. Any roller that’s missing chunks or not spinning freely needs replacement.
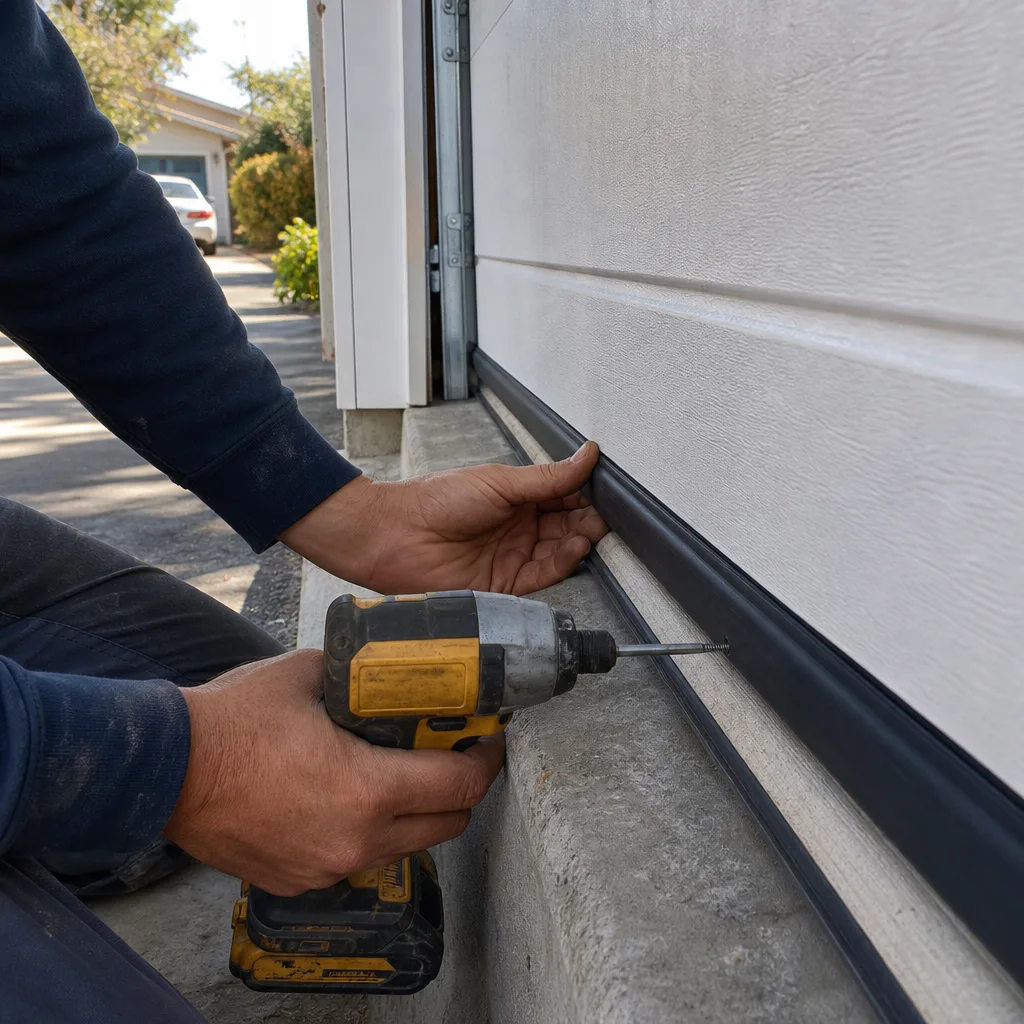
- Check the weather seal along the bottom. In Alameda’s environment, this seal does double duty. It keeps fog moisture and cool air out of the garage, and it keeps whatever’s inside the garage from leaching into the door’s bottom panel. A cracked or flattened seal should be replaced before it lets standing moisture sit against the panel edge.
- Clear the photo-eye sensors. Both sensors at the bottom of the track should have clean lenses and solid alignment. A leaf, a cobweb, or a bit of wind-blown debris is enough to trip the reversal system and leave your door refusing to close.
- Test the auto-reverse function. Place a 2×4 flat on the ground under the door’s path and close the door on it. The door should reverse within two seconds of hitting the wood. This is a non-negotiable safety check. It’s also the one most homeowners skip.
Annual Service Tasks: What Needs a Deeper Look Once a Year
Quarterly checks catch what’s changing quickly. The annual service is for the slow-moving issues that only show up over longer stretches of time. We recommend doing this once every 12 months, ideally at the same time every year so you can compare conditions.
- Inspect every hinge, bracket, and fastener on the door. Use a socket wrench to confirm that nothing has backed out. Vibration cycles add up. A bolt that loosens a quarter-turn per month is a full turn out of spec by the end of the year.
- Check the opener’s mounting hardware. The opener hangs from the garage ceiling on metal straps. Those straps flex slightly with every open-close cycle. Over a year, the fasteners can work loose enough to let the opener unit sag. A sagging opener puts angular load on the rail, which increases wear on the carriage.
- Clean the tracks. Use a damp rag to wipe down the inside of both vertical tracks and the horizontal track. You’re not lubricating the tracks. You’re removing the grit and dust that accumulates and then gets ground into the roller bearings. After cleaning, dry the tracks completely. Leaving moisture in the track accelerates wear on anything that passes through it.
- Inspect the torsion spring for any of the corrosion indicators listed above. Compare what you see now against what you saw a year ago. Corrosion progression is the thing that matters. A spring that looked clean last year and has streaking this year is telling you something useful.
- Check the opener’s chain or belt tension. A chain that’s too loose will slap on the rail and chew through the sprocket. A belt that’s too tight will put unnecessary load on the motor bearings. Both are adjustments best done by a technician who works on garage door opener repair regularly.
- Test the door’s full travel limits. With the opener connected, the door should stop flush with the floor and fully open to the height the opener allows. If it now stops an inch short of the floor or doesn’t open as far as it used to, the limit settings have drifted and need recalibration.
Lubrication Product Selection for Coastal Humidity
The standard national advice for garage door maintenance says to “spray the springs with WD-40.” That advice causes more failures in Alameda than any other maintenance mistake we see. Standard WD-40 is not a lubricant. It’s a water-displacement solvent. It works by displacing moisture and leaving a very thin residue behind. In a coastal environment, that residue is not enough to protect metal that’s exposed to fog on a regular basis. Worse, the solvent nature of WD-40 can strip away whatever protective lubricant was already on the component. You end up with less protection than you started with.
Here’s what actually works in Alameda’s humidity:
- White lithium grease for torsion springs. It clings well, resists washout from condensation, and doesn’t leave the sticky residue that attracts and holds grit. Apply it in a thin, even coat along the full length of the spring while the door is closed.
- Silicone spray for hinges, brackets, and the opener rail. Silicone is hydrophobic, meaning it actively sheds water rather than absorbing it. It won’t contribute to corrosion the way some petroleum-based products do.
- Nothing on the rollers if they’re nylon. Nylon rollers with sealed bearings are lubricated for life. Adding oil or grease creates a surface that collects dust and shortens the roller’s life. If you have steel rollers without sealed bearings, a single drop of machine oil at each bearing once a year is enough.
Never use penetrating oil, motor oil, vegetable oil, or household spray lubricant on any part of the garage door system. The wrong product doesn’t just fail to help. It actively accelerates the problems you’re trying to prevent.
Opener Force-Limit Testing: Why Fog Season Changes Things
Your opener has two force settings: one controls how much power it applies when opening, and one controls the downward force. These settings exist to protect both the door and whatever might be under it. When the force limit is set too high, the opener will keep pushing even when the door hits an obstruction. When it’s set too low, the opener stalls halfway through its travel and reverses.
What most homeowners in Alameda don’t realize is that fog season changes the physical load on the door. When moisture sits on the springs and moving parts, the opening force required can increase slightly. As corrosion builds, the effect compounds. A door that opened smoothly in May might strain against the opener in November, not because anything major broke, but because the surfaces are less willing to slide past each other.
Here’s the testing procedure we recommend running after every foggy stretch:
- Close the door fully. Stand inside the garage.
- Place a 2×4 flat on the floor in the door’s path.
- Close the door using the wall button or remote. The door should reverse within two seconds of contacting the wood.
- Open the door completely. Watch for any hesitation or stall points along the travel.
- With the door open, pull down gently on the bottom edge. The door should resist moving down. If it drifts closed on its own, the opening force is wrong or the springs are failing.
- Check the sensitivity setting on your opener unit. Many newer openers from LiftMaster, Chamberlain, and Genie have an auto-adjust mode that re-learns the force profile each time you run it. Older models have manual dials that need a technician to set properly.
If your opener fails any of these tests, stop using it and call a professional. A reverse system that doesn’t work is the difference between a door that pinches a finger and a door that causes serious injury. The repair for this usually takes less than an hour, and it’s far cheaper than what a failed safety system can cost.
Track Alignment Drift in Older Alameda Homes
Many homes in Alameda were built decades ago, and wood-frame construction settles over time. When the garage framing settles even a fraction of an inch, the door tracks that are mounted to that framing shift with it. The result is a track that’s no longer perfectly plumb or parallel, which causes the door to bind, scrape, or wear unevenly.
You can measure track alignment yourself with nothing more than a tape measure and a level.
How to measure it
- Place a level against the inside face of the left vertical track at three points: bottom, middle, and top. Note any gap between the level and the track.
- Repeat on the right vertical track.
- Measure the distance between the two vertical tracks at the top and at the bottom. The measurements should be within 1/8 inch of each other.
- Look at the horizontal track where it meets the vertical curve. The transition should be smooth with no visible kink or abrupt angle change.
If your measurements show more than 1/4 inch of deviation from plumb, or the tracks are more than 1/4 inch different in width from top to bottom, the track is drifting. That’s not something to chase with shims and guesswork. Adjusting track alignment properly means loosening mounting bolts, repositioning the track, and re-tensioning everything in the right sequence. It’s one of the adjustments that goes wrong quickly when done without experience.
Wood-frame settling in older Alameda homes also affects the header above the door. If you notice the door hanging slightly crooked in its opening, or the top of the door shows a gap on one side when closed, that’s another signal that the framing has moved. This is a structural condition, not a door defect, but it still needs correction to keep the door working properly.
Maintenance Across Different Brands: Amarr, Wayne Dalton, Craftsman, and Raynor
Different manufacturers build their doors with slightly different hardware, and that changes what maintenance looks like. At Oakridge Garage Door Service, we service all major brands, which means we see the specific ways each one wears in Alameda’s climate.
Amarr doors are common in Alameda’s newer construction. They typically use torsion spring systems with enclosed tracks, which protects the hardware from some of the ambient humidity. The weak point tends to be the bottom seal retainer, which is an aluminum extrusion that can oxidize where it contacts the steel panel. If you have an Amarr door, check the seam between the bottom seal retainer and the panel for white powdery corrosion each quarter.
Wayne Dalton doors often use their TorqueMaster spring system, which encloses the springs inside a tube. That enclosure provides better corrosion resistance than exposed torsion springs, but it also hides wear until the spring fails. If you have a Wayne Dalton door with a TorqueMaster system, the maintenance cue is sound, not sight. A groaning or grinding noise during operation is the early warning that the internal spring is wearing.
Craftsman is an opener brand, not a door brand, and their older chain-drive models are common in Alameda garages. The maintenance issue with older Craftsman openers is the chain itself, which stretches over time and needs periodic tension adjustment. If you hear chain slap or see visible sag in the chain when the door is mid-travel, the tension is wrong and the sprocket is wearing.
Raynor doors are less common in Alameda but still in service. Their residential doors tend to use heavy-gauge steel with commercial-style hinges. The hinges are robust but the hinge screws can back out under repeated vibration. A quick pass with a socket wrench on every hinge screw once a year prevents most Raynor-specific issues.
The point here isn’t which brand is better. It’s that each one fails in its own way, and knowing your brand means knowing where to look first. This is why we work on whichever door is already installed, whatever the brand, rather than pushing a single manufacturer’s product.
Common Mistakes to Avoid
- Using WD-40 on the springs. As covered above, standard WD-40 strips protective lubricant and leaves metal more exposed to Alameda’s humidity than it was before. Use white lithium grease instead.
- Lubricating the tracks. Tracks are not meant to be lubricated. Grease or oil in the track collects dust and grit, which then grinds into the rollers and creates more wear, not less. Tracks need to be clean and dry.
- Ignoring the balance check. When the door no longer holds position at half-height, the springs are compensating for lost tension and the opener is working harder. The failure comes later, usually as a snapped spring. Catching the imbalance early means replacing springs before they fail catastrophically.
- Adjusting torsion springs without the right tools and training. Torsion springs store enough energy to cause serious injury or worse if released improperly. This is the one garage door component where the DIY stakes aren’t worth it. A professional replacement costs less than a hospital visit.
- Waiting until a part fails audibly before doing anything. By the time you hear grinding, scraping, or popping, the damage is already done. The maintenance items on this checklist are designed to catch issues while they’re still silent.
- Assuming newer openers don’t need force-limit testing. Auto-adjusting openers recalibrate themselves, but they can drift out of spec as the door’s physical load changes. Running the wood-block reversal test quarterly is the only way to confirm the safety system is actually working.
- Using the garage door as the primary entrance and exit. In Alameda, where many homes use the garage for storage and the door opens and closes multiple times daily, the cycle count adds up fast. More cycles means more wear between inspections. If you use the door ten times a day, treat every quarterly checklist as a monthly one.
When to Call a Professional
Some maintenance items are genuinely DIY. Checking balance, cleaning sensors, and looking at corrosion are all things an attentive homeowner can do in minutes. Other items aren’t. Torsion spring work, cable replacement, track realignment, and opener force-limit adjustment all involve components under tension or precision settings that require the right tools and training. If your quarterly check turns up corrosion on the springs, fraying on the cables, or a door that won’t balance, that’s the moment to make the call rather than attempt a fix with whatever’s in the toolbox.
Oakridge Garage Door Service offers free estimates in Alameda. Call (855) 341-8689. We answer 24/7. Fast dispatch from 7am to 7pm, Sunday through Friday.
Frequently Asked Questions
Run the quarterly 15-minute checklist four times a year and the deeper annual inspection once every 12 months. If your door cycles more than about five times a day, shift the quarterly checks to monthly. The corrosion-driven failure modes in Alameda’s climate don’t wait for a convenient schedule.
Red-brown streaking along the coils, white or gray powdery residue packed between coils, and uneven gaps between individual coil segments are the three visual indicators of active corrosion. Any one of these means the spring is degrading. All three together means replacement is urgent.
You can inspect springs and apply white lithium grease to them safely. You should not attempt to adjust, remove, or replace a torsion spring yourself. The stored energy in a wound torsion spring is enough to cause serious injury or death if released improperly. This is the one garage door component where professional repair is the only sensible option.
Moisture from fog changes the surface friction on moving parts, and as it sits on springs and hinges it can increase the opening force required to move the door. If the noise persists after the fog clears, run the full quarterly checklist and look for corrosion indicators. A door that stays noisy after moisture dries out has something more than surface condensation going on.
We service all eight major garage door and opener brands, including Amarr, Wayne Dalton, Craftsman, and Raynor. If your door was installed by a different company and they told you they only work on two or three brands, that’s their limitation, not yours and not ours. We work on whatever is already installed.
The quarterly checklist items cost nothing but your time, a flashlight, and about fifteen dollars in lubricant that will last you two years. If inspection turns up a problem that needs professional repair, the work is quoted and agreed before anything starts. Call (855) 341-8689 for a free estimate.
In Alameda’s environment, ignored maintenance means corrosion progresses on the springs and cables until something fails. The most dangerous failure is a torsion spring snapping while the door is open, which releases stored energy violently. Less dangerous but more common failures include cable snaps that drop the door, track issues that bind the door halfway through its travel, and opener motors that burn out from working against a door they can no longer move. All of these are more expensive to fix than the maintenance that would have prevented them.
The Bottom Line
Maintaining a garage door in Alameda is not about following a national one-size-fits-all checklist. It’s about understanding what the local environment does to your specific door and catching the signs early. Corrosion is the primary enemy, and it shows itself in visible ways long before failure if you know where to look. Quarterly checks take 15 minutes. Annual service takes an afternoon. The alternative is waiting for a spring to snap or a cable to give way, and that’s never a convenient time. Inspect the springs and cables first, use the right lubricant, test the opener’s safety functions, and know your door’s brand well enough to look at its specific weak points. Do that, and the door will tell you what it needs before it breaks.
Written by the team at Oakridge Garage Door Service, serving Alameda since 2015.
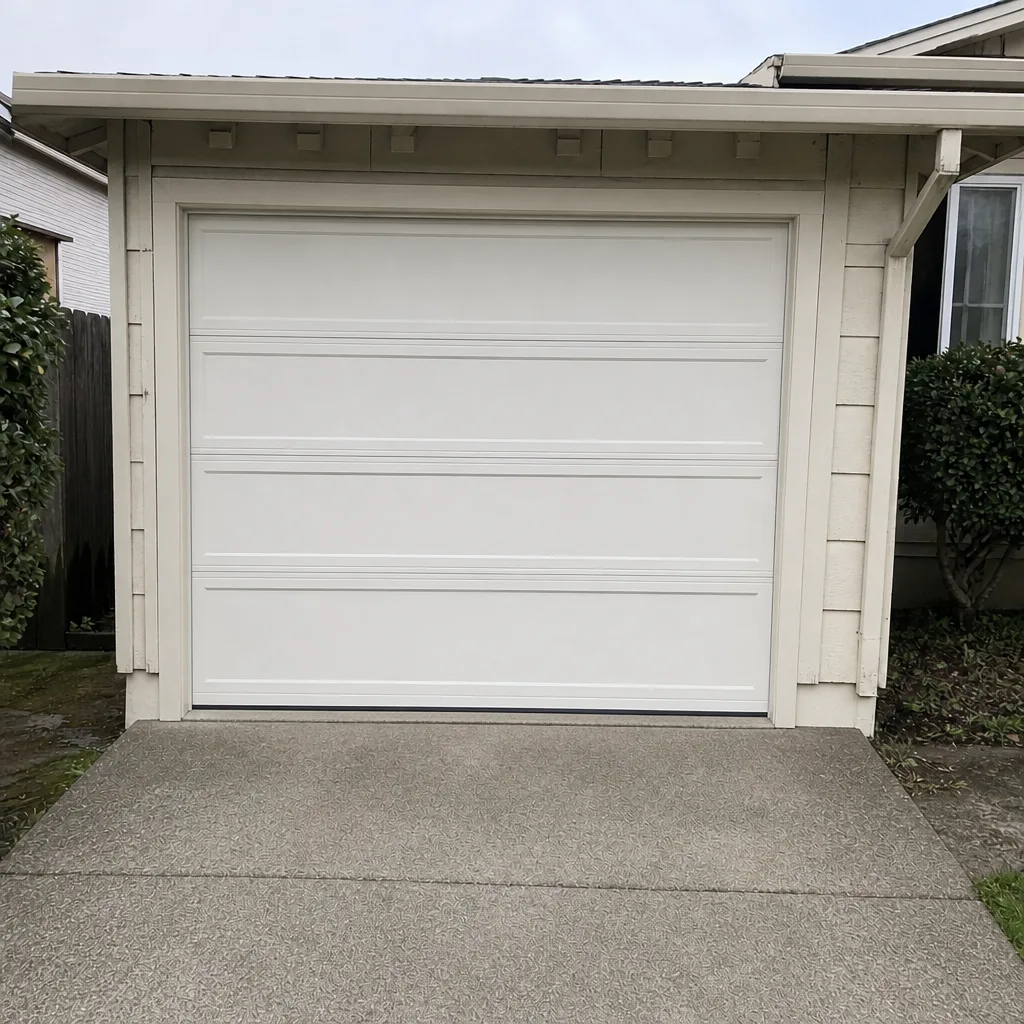
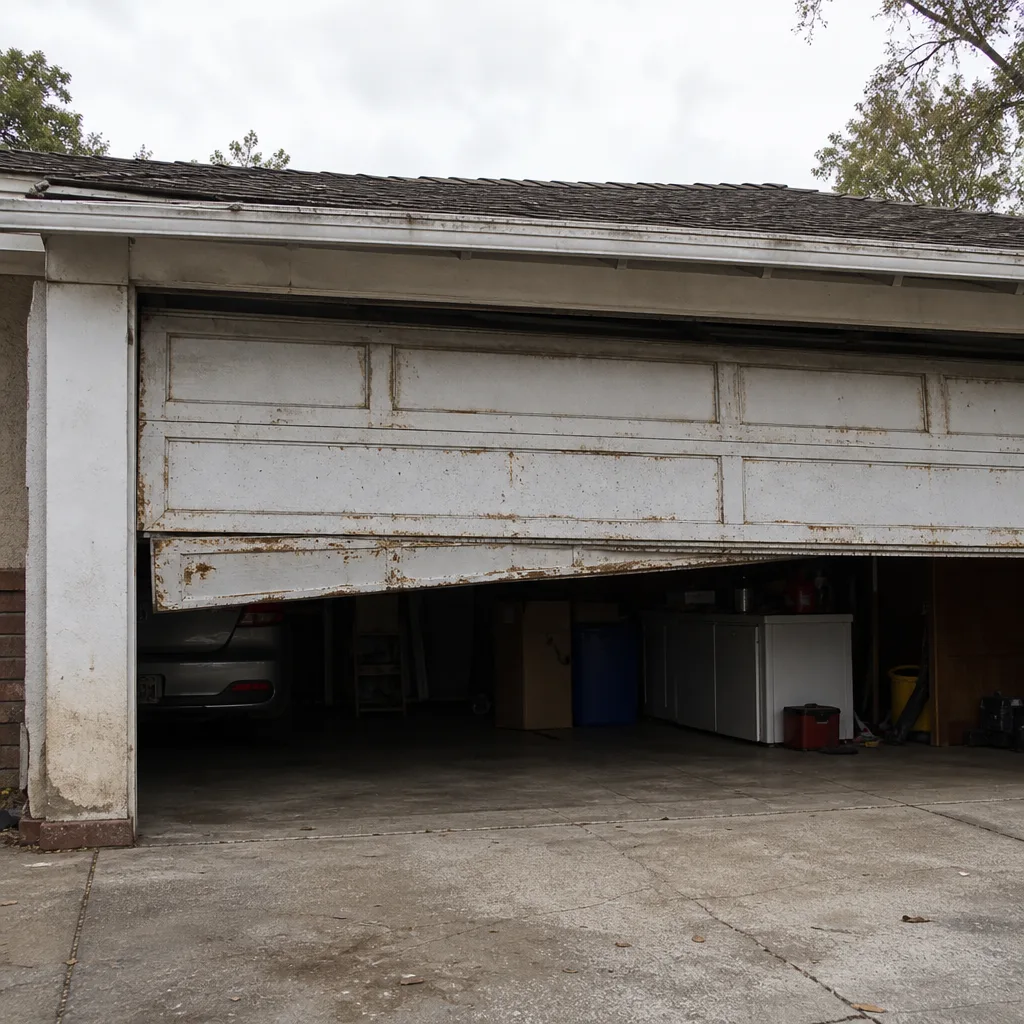
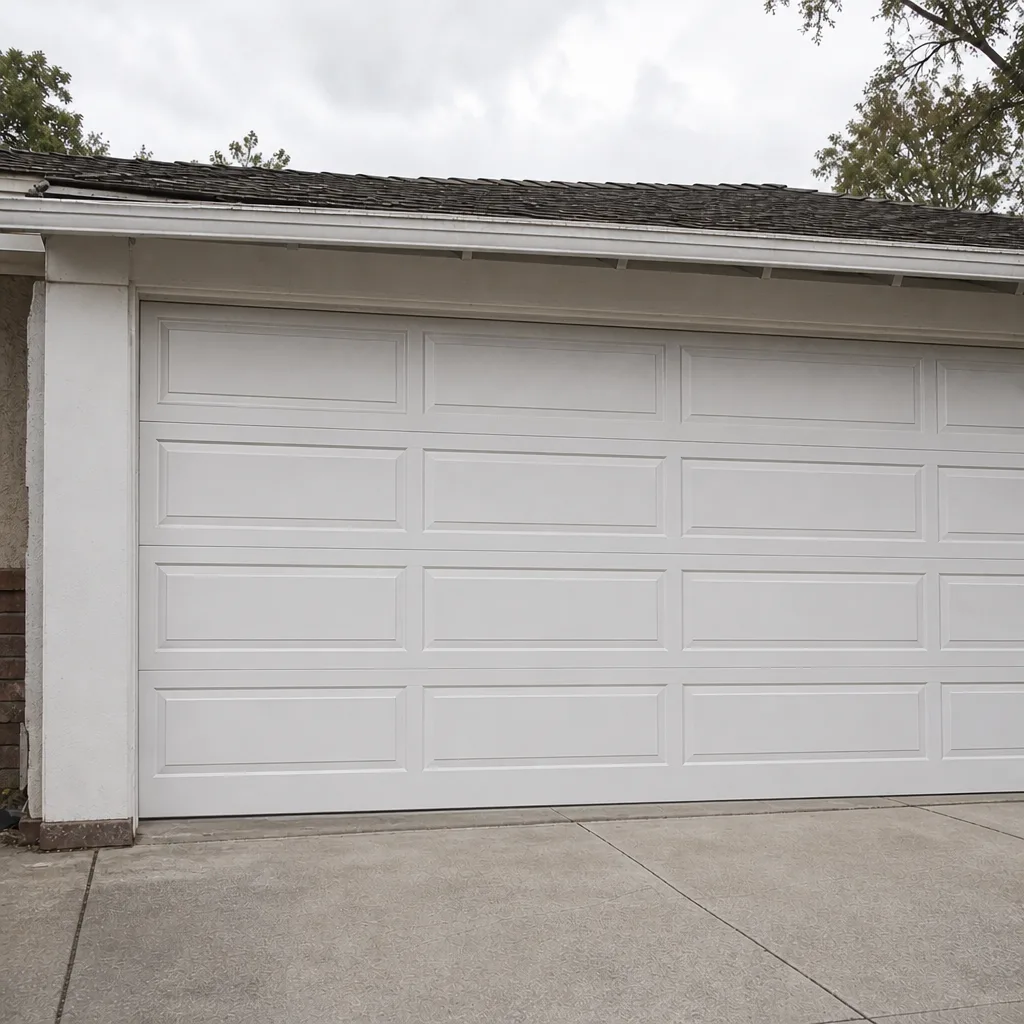
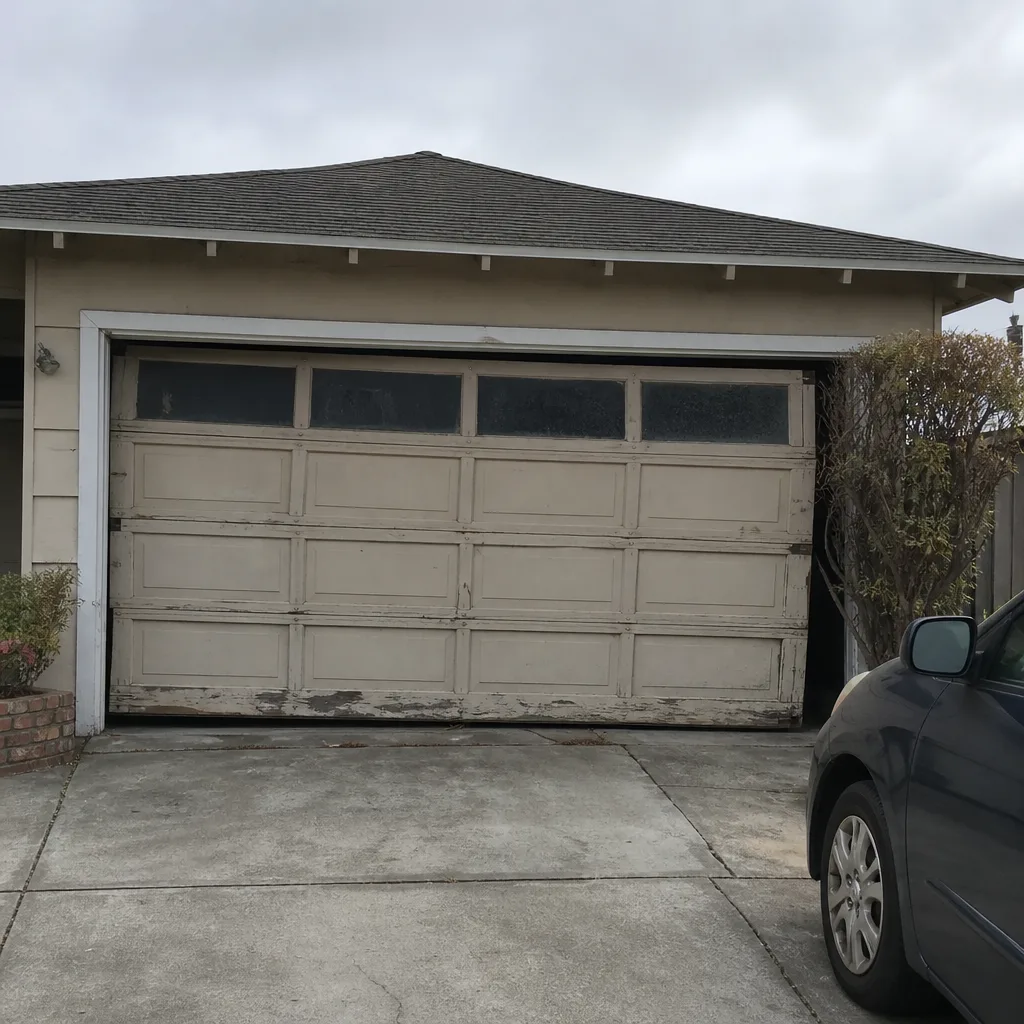
See the difference
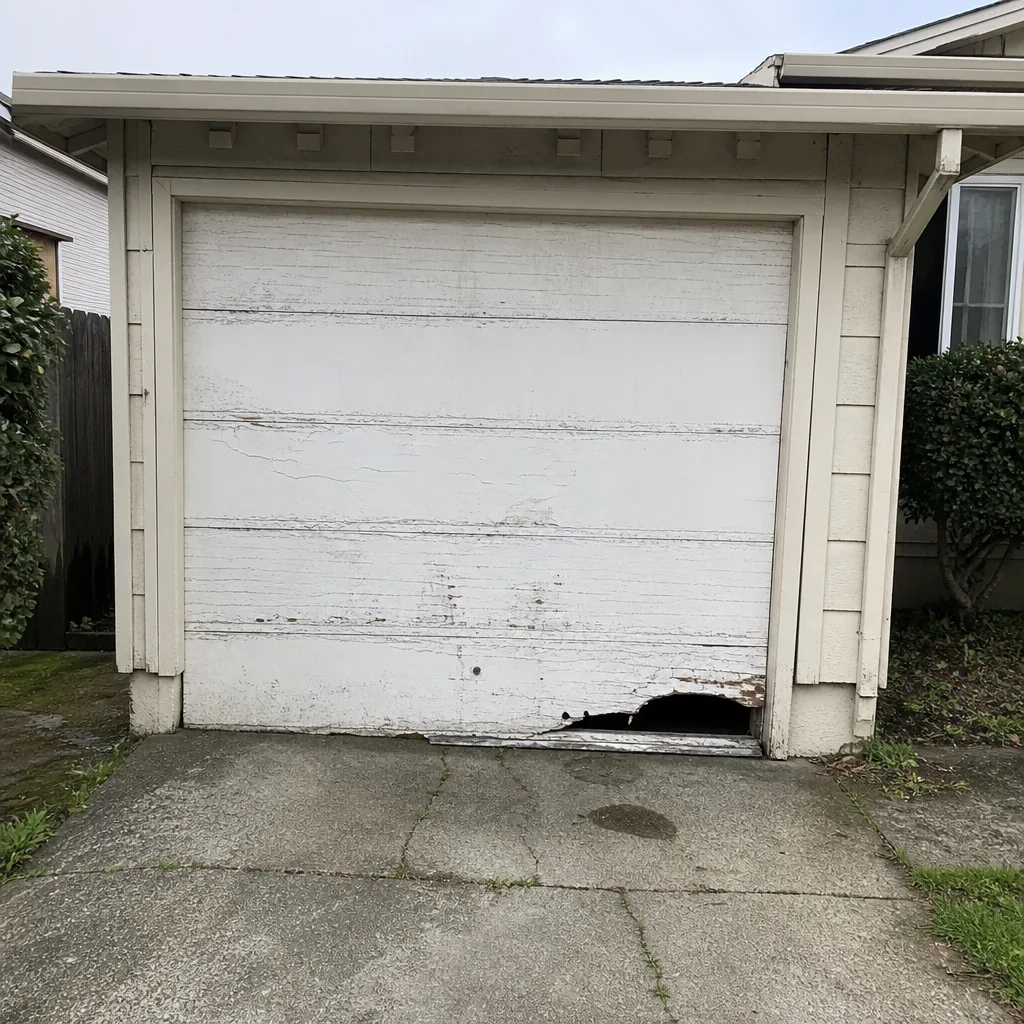 Before
 After
 Before
 After
 Before
 After